


 11 / 20

BRAW LADDIES AMIDST THE CLASH OF THE EMPIRES
11
the campaign things did not turn out
that way.
In the initial stages the Turks
seemed confused by the breadth
and strength of the allied attack but
they soon regrouped and at V and W
beaches the British forces took heavy
casualties when they found themselves
pinned down by heavy and accurate
machine-gun fire. In contrast, the
landings at X and
Y
beaches
were
unopposed. However,
there were serious staff
and communication
failures between the
two landing forces
which meant that they were unable to
exploit the situation, even though they
faced minimal Turkish opposition.
Attacking Y beach was a combined
force of two thousand but their progress
was stymied by a muddle over who
should take command. Forced to dig
in quickly, the Scots used their packs
to reinforce their defences and later
admitted that the “trenches” never
deserved the name.
The Allies were confined to their
beach-head while the Turks held on to
the higher ground and could not be
dislodged. At the same time the Turks
failed to drive their enemy back into
the sea and the fighting
degenerated into as bitter
a struggle as anything
seen on the Western
Front. By the end of the
month, less than a week
after they had landed,
the British had lost some 400 officers
and 8500 other ranks, around one-third
of the attacking force. The landings at
Anzac Cove, on the Mediterranean side
of the peninsula, had been equally costly.
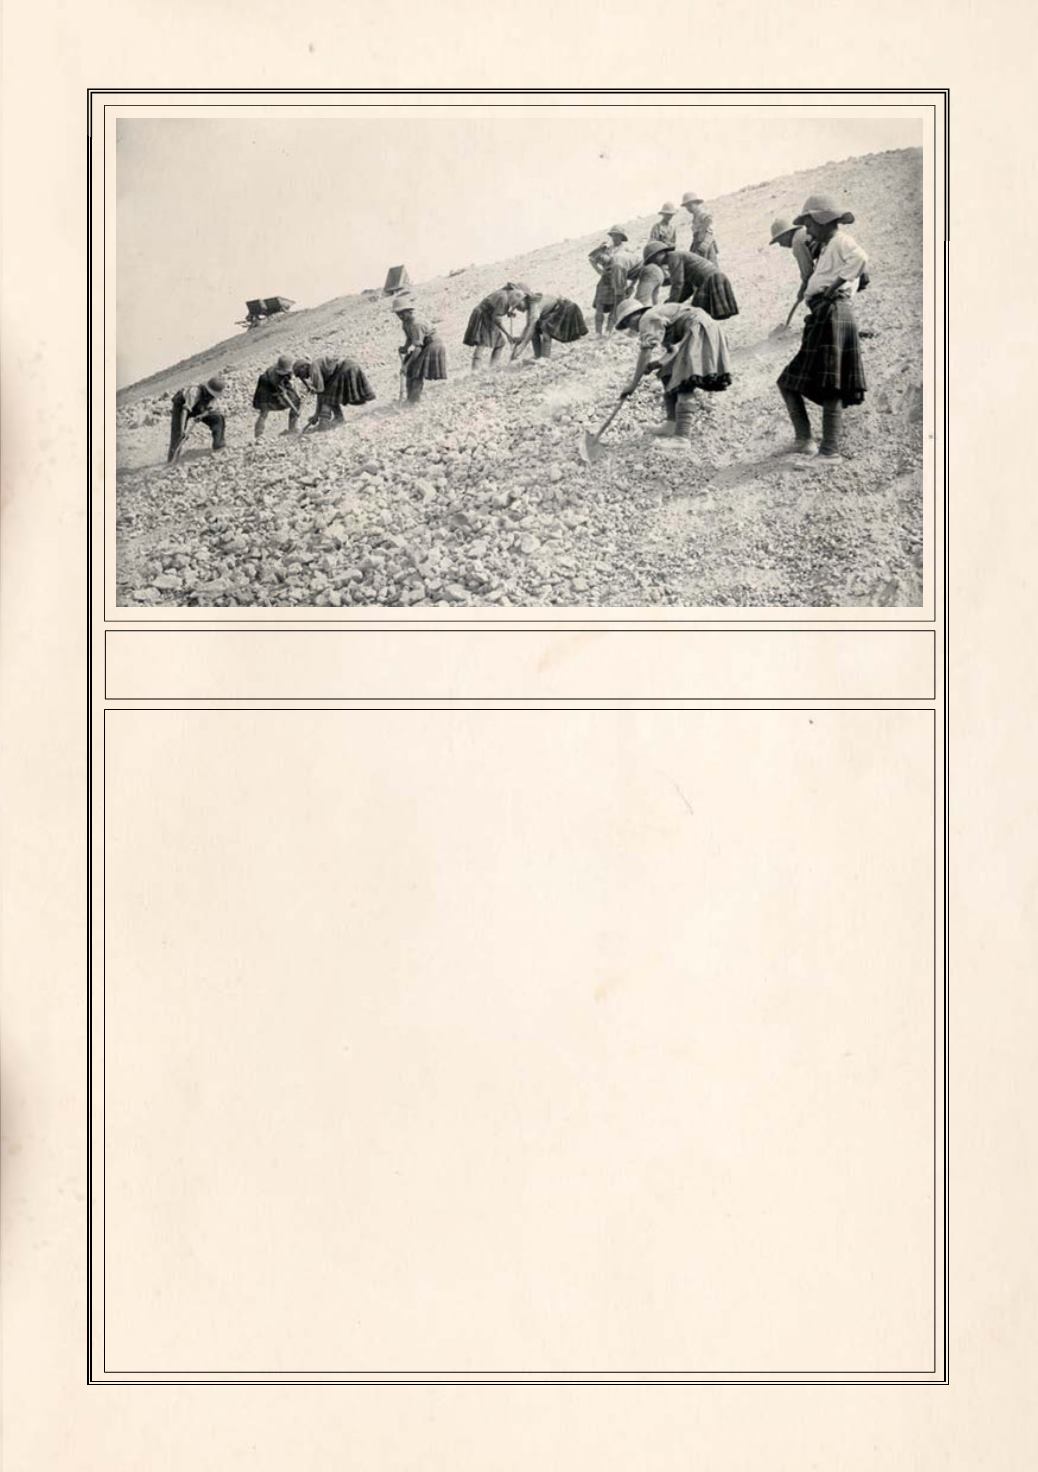
TROOPS OF THE 5TH BATTALION, ARGYLL AND SUTHERLAND HIGHLANDERS
(52ND DIVISION) AT WORK ON THE CAPE HELLES CLIFFS, JUNE 1915
The two thousand troops at Y beach
comprised 1st King’s Own Scottish
Borderers (KOSB), the Plymouth
Battalion Royal Marines and
a company drawn from 2nd South
Wales Borderers.